网站内容采集(三星Galaxy9199.00Ultra5G..定位网页搜索框)
优采云 发布时间: 2021-12-07 23:16网站内容采集(三星Galaxy9199.00Ultra5G..定位网页搜索框)
作业①:
没有
马克
价格
笔记
文件
000001
三星Galaxy
9199.00
三星 Galaxy Note20 Ultra 5G...
000001.jpg
000002......
1),京东手机数据爬取
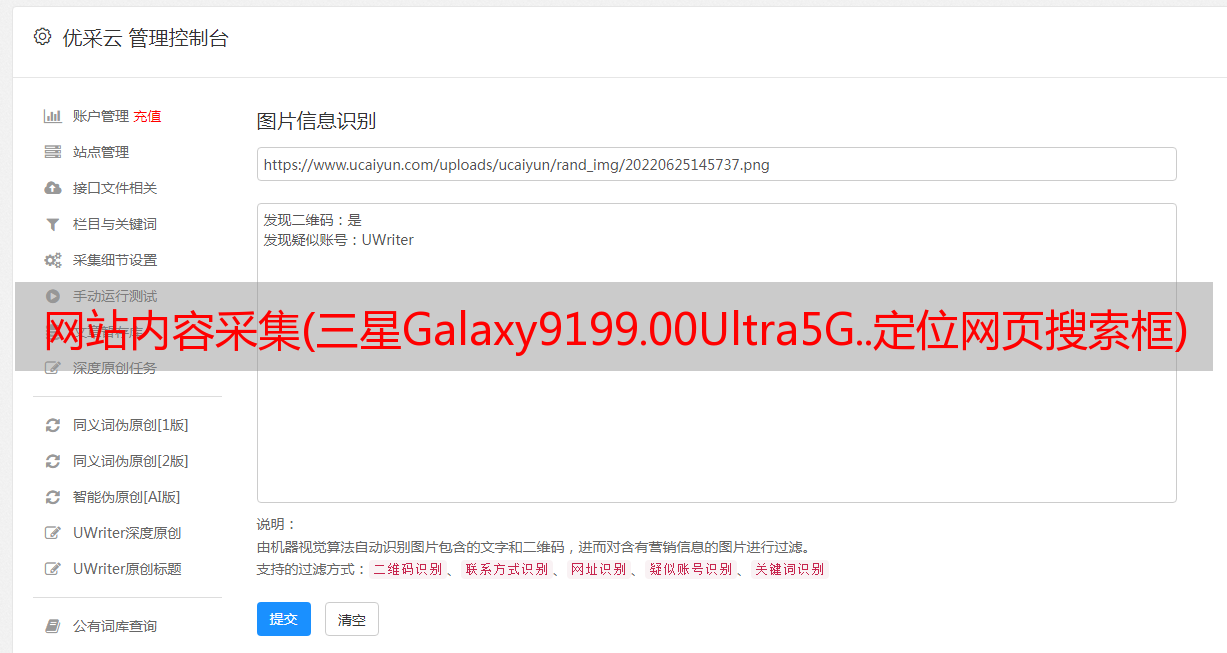
1.找到网页搜索框,输入关键词“手机”

self.driver.get(url)
keyInput = self.driver.find_element_by_id("key")
keyInput.send_keys(key)
keyInput.send_keys(Keys.ENTER)
2.写爬虫主体,查看页面:
使用xpath方式实现定位(由于京东网站的特殊性,图片链接隐藏在src或data-lazy-img下)
lis =self.driver.find_elements_by_xpath("//div[@id='J_goodsList']//li[@class='gl-item']")
for li in lis:
if count > 413:
break;
# We find that the image is either in src or in data-lazy-img attribute
try:
src1 = li.find_element_by_xpath(".//div[@class='p-img']//a//img").get_attribute("src")
except:
src1 = ""
try:
src2 = li.find_element_by_xpath(".//div[@class='p-img']//a//img").get_attribute("data-lazy-img")
except:
src2 = ""
try:
price = li.find_element_by_xpath(".//div[@class='p-price']//i").text
except:
price = "0"
try:
note = li.find_element_by_xpath(".//div[@class='p-name p-name-type-2']//em").text
mark = note.split(" ")[0]
mark = mark.replace("爱心东东\n", "")
mark = mark.replace(",", "")
note = note.replace("爱心东东\n", "")
note = note.replace(",", "")
except:
note = ""
mark = ""
翻页加工:
# 找到下一页的跳转按钮位置
if count < 413:
try:
self.driver.find_element_by_xpath("//span[@class='p-num']//a[@class='pn-next disabled']")
except:
nextPage = self.driver.find_element_by_xpath("//span[@class='p-num']//a[@class='pn-next']")
time.sleep(5)
nextPage.click()
time.sleep(5)
self.processSpider()
设置下载图片的文件名:
self.No = self.No + 1
no = str(self.No)
while len(no) < 6:
no = "0" + no
print(no, mark, price)
if src1:
src1 = urllib.request.urljoin(self.driver.current_url, src1)
p = src1.rfind(".")
mFile = no + src1[p:]
elif src2:
src2 = urllib.request.urljoin(self.driver.current_url, src2)
p = src2.rfind(".")
mFile = no + src2[p:]
使用多线程,下载速度快:
if src1 or src2:
T = threading.Thread(target=self.download, args=(src1, src2, mFile))
T.setDaemon(False)
T.start()
self.threads.append(T)
else:
mFile = ""
定义下载函数:
def download(self, src1, src2, mFile):
data = None
if src1:
try:
req = urllib.request.Request(src1, headers=MySpider.headers)
resp = urllib.request.urlopen(req, timeout=10)
data = resp.read()
except:
pass
if not data and src2:
try:
req = urllib.request.Request(src2, headers=MySpider.headers)
resp = urllib.request.urlopen(req, timeout=10)
data = resp.read()
except:
pass
if data:
print("download begin", mFile)
fobj = open(MySpider.imagePath + "\" + mFile, "wb")
fobj.write(data)
fobj.close()
print("download finish", mFile)
创建图片存储目录:
imagePath = "download"
try:
if not os.path.exists(MySpider.imagePath):
os.mkdir(MySpider.imagePath)
images = os.listdir(MySpider.imagePath)
for img in images:
s = os.path.join(MySpider.imagePath, img)
os.remove(s)
except Exception as err:
print(err)
3.创建mysql数据库
# 连接mysql数据库
print("opened")
try:
self.con = pymysql.connect(host="127.0.0.1", port=3306, user="root",
password="hts2953936", database="mydb", charset="utf8")
self.cursor = self.con.cursor(pymysql.cursors.DictCursor)
self.opened = True
# flag = False
except Exception as err:
print(err)
self.opened = False
向数据表中插入数据:
# 插入数据
self.cursor.execute("insert into phone (Pno,Pmark, Pprice, Pnote, PmFile) values (%s,%s,%s,%s,%s)",(no, mark, price, note, mFile))
查看数据库中的结果:
图片:
作业1码云链接
2),体验
本次实验是之前实验的复盘,巩固了Selenium对抓取京东数据和下载图片的模拟。复习selenium爬取方法和翻页,巩固数据库的操作
作业②:
要求:
熟悉Selenium查找HTML元素,实现用户模拟登录,抓取Ajax网页数据,等待HTML元素等。
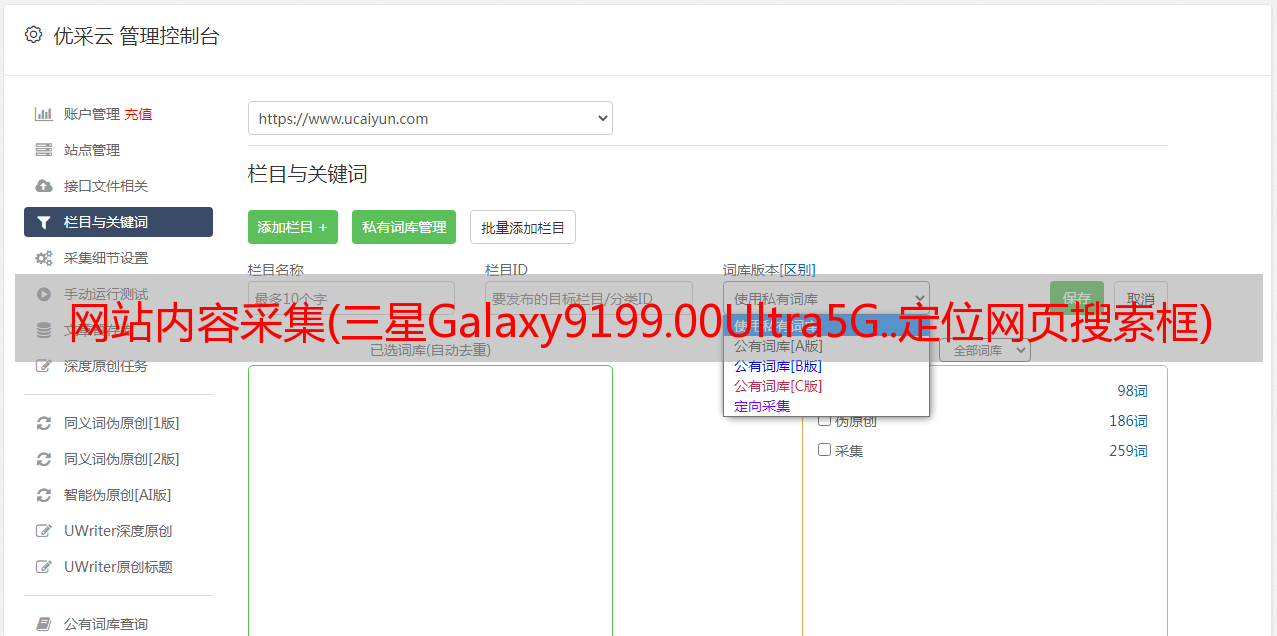
使用Selenium框架+MySQL登录Mukenet,在学生自己的账号中获取所学课程的信息并保存在MySQL中(课程编号、课程名称、教学单位、教学进度、课程状态、课程图片地址) ,同时存储图片到本地项目根目录下的imgs文件夹,用课程名称存储图片名称。
1), selenium 爬取mooc数据
初始化驱动程序
chrome_options = Options()
# 设置启动chrome时不可见
# chrome_options.add_argument('--headless')
# chrome_options.add_argument('--disable-gpu')
# 创建options
self.driver = webdriver.Chrome(chrome_options=chrome_options)
url = 'https://www.icourse163.org/'
self.driver.get(url)
最大化窗口(方便查找节点)并设置反监控防止网页检测selenium
self.driver.maximize_window()
self.driver.execute_cdp_cmd("Page.addScriptToEvaluateOnNewDocument", {
"source": """
Object.defineProperty(navigator, 'webdriver', {
get: () => undefined
})
"""
})
模拟点击MOOC初始页面登录按钮
然后模拟点击其他登录方式
接下来,点击您的电话号码登录
代码显示如下
loginbutton = self.driver.find_element_by_xpath('//div[@class="_1Y4Ni"]/div')
time.sleep(3)
loginbutton.click()
time.sleep(3)
button2 = self.driver.find_element_by_xpath('//span[@class="ux-login-set-scan-code_ft_back"]')
button2.click()
time.sleep(3)
button3 = self.driver.find_element_by_xpath('//ul[@class="ux-tabs-underline_hd"]/li[position()=2]')
button3.click()
time.sleep(3)
到了这一步,下一步就是定位两个文本框,然后使用sendkeys方法输入数据
但是在这一步需要注意,文本框的节点是存放在框架节点下的文档内容中:
因此,不能使用 find_element_by_xpath 直接定位文本框。需要先定位到frame节点,调用switch_to.frame方法后才能爬取。
代码显示如下:
frame = self.driver.find_element_by_xpath('/html/body/div[position()=13]/div[position()=2]/div/div/div/div/div/div[position()=1]/div/div[position()=1]/div[position()=2]/div[position()=2]/div/iframe')
self.driver.switch_to.frame(frame)
找到两个文本框,使用sendkey输入内容
account = self.driver.find_element_by_xpath('/html/body/div[position()=2]/div[position()=2]/div[position()=2]/form/div/div[position()=2]/div[position()=2]/input')
account.send_keys('18016776126')
password = self.driver.find_element_by_xpath('/html/body/div[2]/div[2]/div[2]/form/div/div[4]/div[2]/input[2]')
password.send_keys("hts2953936")
输入后点击登录按钮
loginbutton2 = self.driver.find_element_by_xpath('/html/body/div[2]/div[2]/div[2]/form/div/div[6]/a').click()
time.sleep(10)
这里设置一个time.sleep(10)是因为有时候会需要手动拖动拼图验证码,这部分实现比较费时间,有时间可以抽时间研究一下在将来。
进入页面后,模拟点击我的课程

mycourses = self.driver.find_element_by_xpath('/html/body/div[position()=4]/div[position()=2]/div[position()=1]/div/div/div[position()=1]/div[position()=3]/div[position()=4]/div').click()
time.sleep(3)
之后,我成功使用selenium的模拟登录进入了我们的课程页面,就可以开始下一步的爬取了。
定位收录课程信息的节点
body = self.driver.find_elements_by_xpath('//div[@class="course-card-wrapper"]')
遍历节点抓取数据,下载图片,插入数据库:
for i in body:
count += 1
cid = count
img = i.find_element_by_xpath('.//div[@class="img"]/img').get_attribute('src')
schedule = i.find_element_by_xpath('.//span[@class="course-progress-text-span"]').text
college = i.find_element_by_xpath('.//div[@class="school"]').text
title = i.find_element_by_xpath('.//div[@class="title"]/div/span[position()=2]').text
coursestatus = i.find_element_by_xpath('.//div[@class="course-status"]').text
downloadurl = img
file = "C:/Users/86180/Desktop/Data Collection/imgs/" + "course no." + str(count) + " pic no."+".jpg"
urllib.request.urlretrieve(downloadurl, filename=file)
print("course no." + str(count) + " download completed")
print("insert into mooc (cid,cCourse,cCollege,cShedule,cCourseStatus,cImgUrl) values (%s,%s,%s,%s,%s,%s)",(cid,title,college,schedule,coursestatus,img))
# 执行插入数据库操作
if self.opened:
self.cursor.execute("insert into mooc (cid,cCourse,cCollege,cShedule,cCourseStatus,cImgUrl) values (%s,%s,%s,%s,%s,%s)",
(cid,title,college,schedule,coursestatus,img))
print("-------------------------------")
爬取一页信息后的翻页操作:
在页面中,页面信息收录在 ul[@class="ux-pager"] 节点下。该节点下倒数第二个li节点是所学课程最后一页的页码(即下一页的前一个兄弟节点)

于是获取节点下的页码信息:
page = self.driver.find_element_by_xpath('//ul[@class="ux-pager"]/li[position()=last()-1]/a').text
使用selenium模拟点击,递归调用processSpider函数进行翻页:
if not flag == int(page):
flag +=1
nxpgbutton = self.driver.find_element_by_xpath('//li[@class="ux-pager_btn ux-pager_btn__next"]/a')
nxpgbutton.click()
time.sleep(5)
self.processSpider()
在数据库中:
图片:
作业2代码云链接
经验:
本实验研究使用 selenium 模拟登录。步骤是逐步定位按钮位置,通过click方法点击按钮,模拟登录时使用send_keys方法在文本框中输入数据。mooc网站的文本框比较特别。, 存放在iframe的#document中,不能直接定位。需要通过调用driver.switch_to.frame()调到node下新的html,然后定位。进入之后,爬行等操作就比较熟悉了。模拟登录过程中出现的问题:短时间内多次登录后,登录时有时会弹出拼图验证码。
作业③: